

Stage 1: Model preparation
Stage 2: Mounting models for painting
Stage 3: Base-coating
Stage 4: Camouflage
Stage 5: Bringing out the detail
Stage 6: Markings
Stage 7: Protecting the paintwork
Stage 8: Basing
An advantage of using magnets on the bottom of vehicles, as I mentioned on the Basing page, is that it simplifies the depiction of vehicle-created dust clouds.
I cut small lozenges of steel and paint them to match the table surface. Small fragments of dacron (the synthetic wadding used to fill cheap pillows and duvets) are coloured to represent dust and are glued to one end of the lozenge. I use the method described on the Battlefront site to colour the dacron, with one addition: I initially colour it slightly darker than I want it to end up, and then airbrush a lighter shade over the top. This gives the cloud a bit more depth.
When the dust cloud is required, the metal base can be snapped to the magnet on the bottom of the tank and the two are moved easily together.
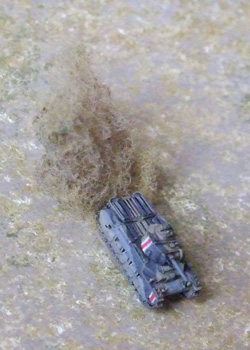 Here we see a Matilda II tearing across the desert at full speed, raising a plume of dust behind. |
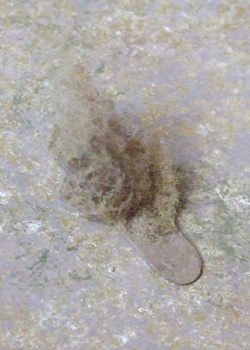 This shows the dust marker by itself. |
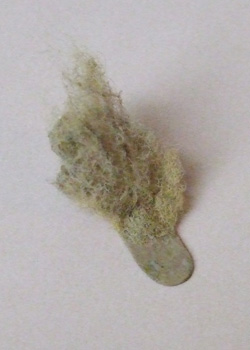 Here it is again, against a plain background that makes it a little easier to see what it looks like. |
The same system can be used to represent smoke clouds from knocked-out vehicles, though since they aren't normally meant to move much after being knocked out it isn't so necessary to actually have them stuck to the vehicle.
The weight of the metal lozenge is sufficient to keep the dust or smoke clouds reasonably stable when used alone to represent a sand storm, a barrage's beaten zone, or a smoke screen.