

Stage 1: Model preparation
Stage 2: Mounting models for painting
Stage 3: Base-coating
Stage 4: Camouflage
Stage 5: Bringing out the detail
Stage 6: Markings
Stage 7: Protecting the paintwork
Stage 8: Basing
Even on the best quality miniatures, you will occasionally have to clean up a little "flash" — this is the excess metal left behind as part of the casting process. On the model shown below (a French Char B-II(bis) from C-in-C) there are mould lines showing on both the turret and the hull where the two halves of the mould come together, and hanging off one track is a tendril of metal left from a tiny channel cut into the mould to let air escape when the hot metal flows into it.
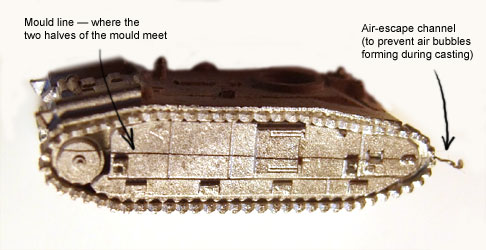
These small flaws must be cleaned up before painting begins. If they are left as they are, the washing and dry-brushing used to enhance detail will also accentuate the appearance of the flash.
Fortunately, unless the moulds have been badly misaligned, cleaning up flash is pretty straightforward.
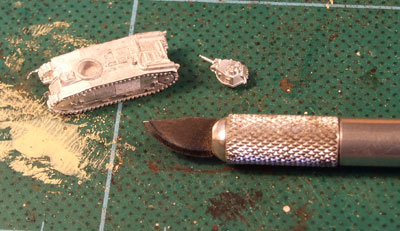
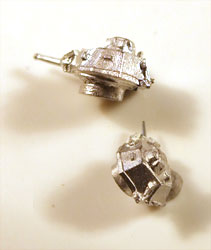
I like to use a sharp scalpel with a curved blade like the one shown to the right. The knife is used to cut away any major flaws (like the tendril hanging off the tracks) and to gently scrape away mould lines.
The key to removing mould lines is to take it gently; don't try to gouge it out in one go, but work gradually away at the area. White metal used for miniatures is usually quite soft, and comes away easily, but the down-side to this is that it can be easily damaged if you attack it too fiercely.
Be prepared to replace the blade regularly, especially if it gets chipped. A chip in the scalpel blade will leave unsightly scratches and gouges all over the place, exactly the opposite of what we want to achieve.
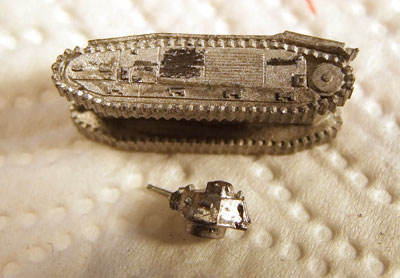
In the image to the left, you can see where I have scraped away the mould lines on the left side of the hull and around the base of the turret. The metal appears darker there because it is smoother than the surrounding areas, but once a layer of paint goes on the difference will disappear.