

Stage 1: Model preparation
Stage 2: Mounting models for painting
Stage 3: Base-coating
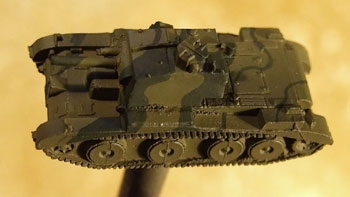
Stage 4: Camouflage
Stage 5: Bringing out the detail
Stage 6: Markings
Stage 7: Protecting the paintwork
Stage 8: Basing
A word on colours: scale effects mean that if you use colours matched straight from a paint chip or from a pre-mixed paint range, they will tend to look too dark when painted on to a teensy-tiny microarmour model. Also, the ink-washing step will tend to darken the underlying colours. For both of these reasons, you will probably find that you will have to lighten the camouflage colours you use a lot more than you would on a larger-scale model. Exact ratios vary according to the pigments used, the relationships between the various colours on the model, and the individual taste of the painter, so you will just have to experiment a bit to see what looks good to you. It's worth trying different mixes out on something expendable before you put paint on one of your precious models; use something that is 3-dimensional, and that has some angles and curves, as your test piece. Paint on a 3-d surface can look quite different to the same colour(s) painted on a flat piece of card.
I start by outlining where the second colour is going to go with a fine Number 0 brush, as shown in the image to the left. I try to keep the outlines as thin as possible so that it's clear where the contours lie and how the base colour and secondary colour relate in terms of area.
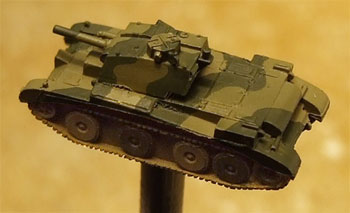
Once I'm happy with the pattern, I start to fill it in with fairly thin paint. The paint needs to be thin enough to flow well and not to obscure detail, but still dense enough to be reasonably opaque, since I like it to cover in a single coat if possible.